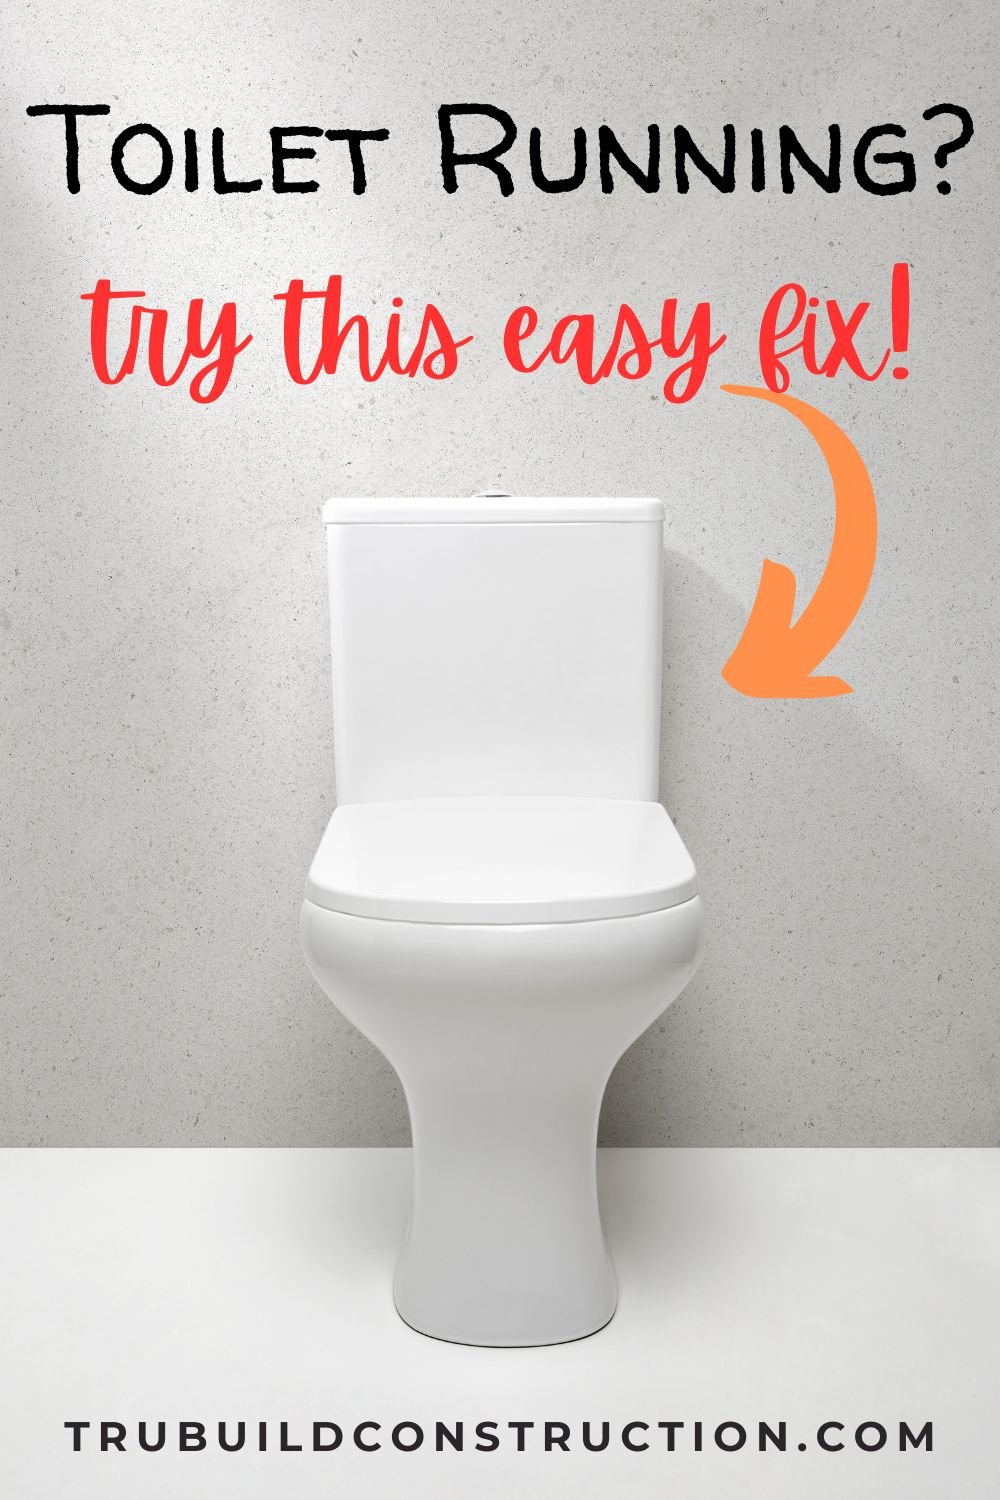

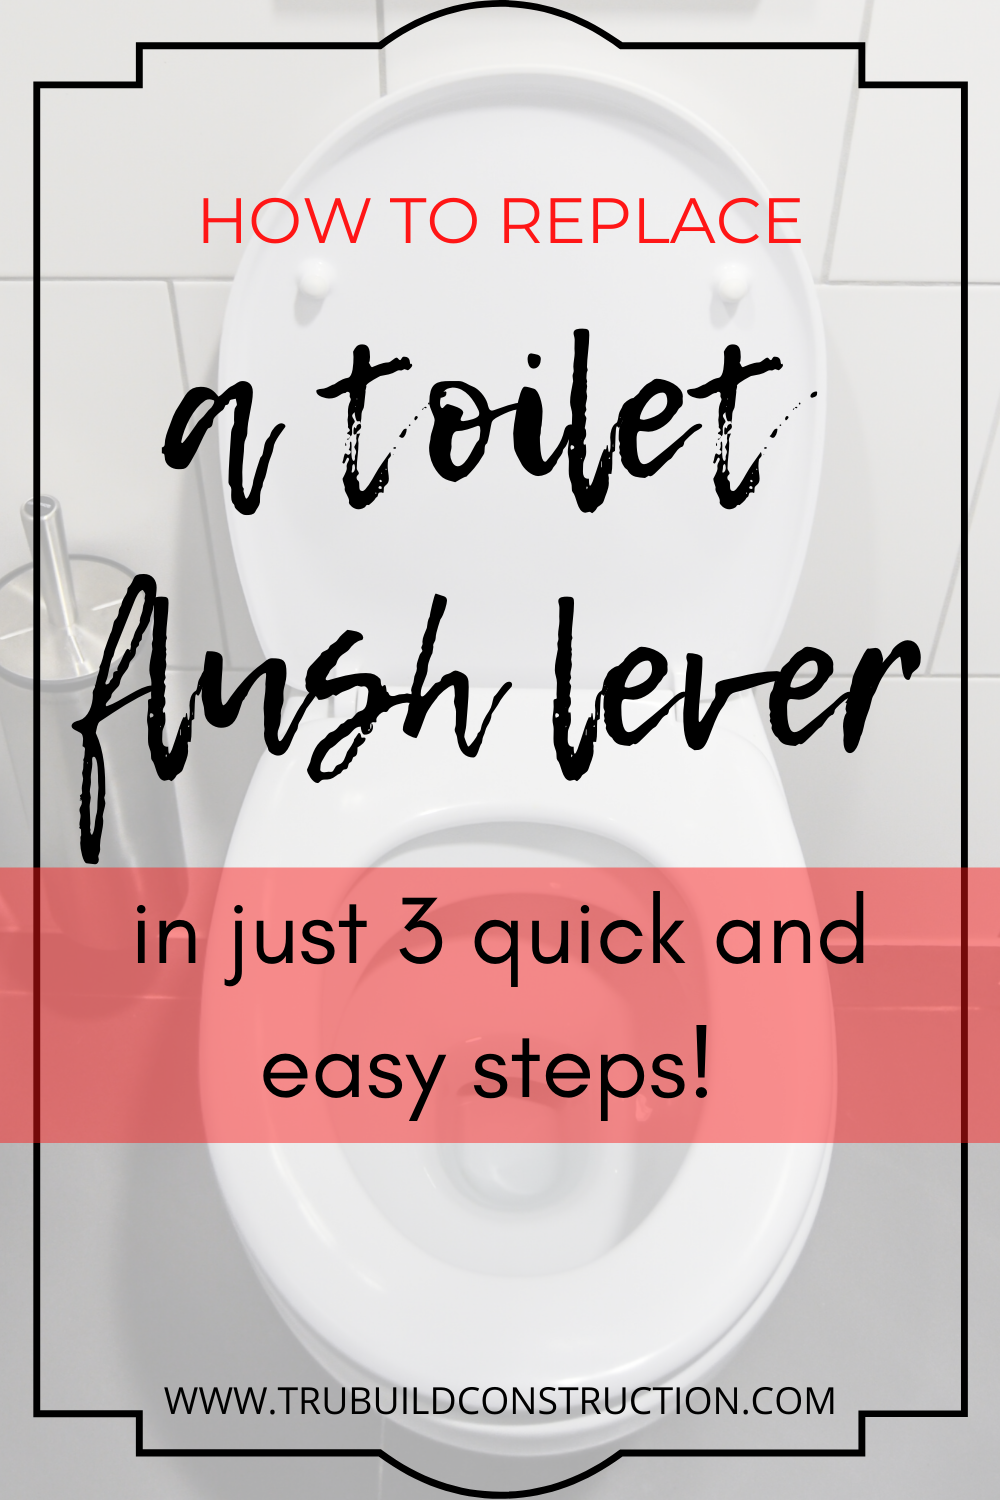
Replacing A Toilet Flush Lever in 3 Quick And Easy Steps
If replacing your toilet flush lever is on your “to-do” list, then we can help!
One day I went to flush the toilet in my main floor powder room and nothing happened. I pushed the lever down over and over, but no flush!
Confused and a little annoyed, I lifted the top off the toilet tank to discover the plastic piece attached to the chain that lifts the flapper to flush the toilet had completely snapped off where it connects to the handle on the inside of the tank.
I guess it’s not surprising this happened as it was simply plastic and this wasn’t exactly a new toilet, but it was a bit of a hassle nonetheless.
As someone who had not ever had to replace a flush lever before on a toilet, I was thankful Ryan is more handy than I, and I took this as an opportunity to learn about my options.
Affiliate Disclosure: As an Amazon Associate I earn from qualifying purchases. You should assume the owner of this website has an affiliate relationship and/or another material connection, to any suppliers of goods and services that may be discussed here and may be compensated for showing advertisements or recommending products or services, or linking to the supplier's website.
After a bit of research, I realized just how simple a fix this is! Of course, as someone who loves to explore my options to make the best choice, I dug into the wide range of possibilities to try to find the best fit for my home.
Parts Of A Toilet Flush Lever:
In order to make sure you know what you’re doing, let’s define what we are replacing!

Handle - Located on the outside of the tank, this is the part that you push down to flush the toilet.
Arm - This part acts as the lever by connecting the handle to the chain that lifts the flapper.
Chain - Connects the arm to the flapper. It is attached into one of the holes located on the arm and is pulled up by the arm during the action of pushing down on the handle.
Flapper - The flapper is lifted up by the chain and lets water out of the tank to flush the toilet.
3 Steps For Replacing A Toilet Flush Lever
What You Will Need To Replace A Toilet Flush Lever:
2 minutes (seriously!)
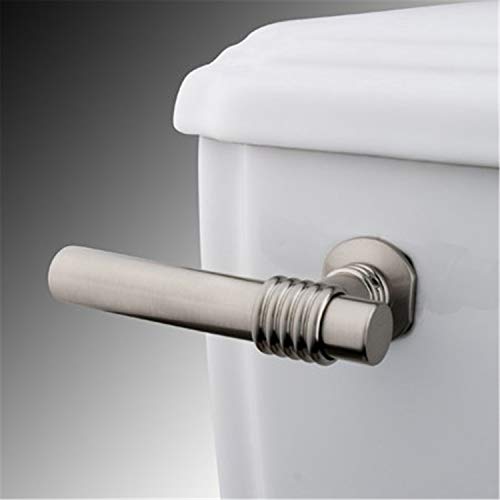
Step 1 - Choose A New Toilet Flush Lever
The shape of the toilet tank can mean that there are a variety of different locations for the handle.
It can be on the left or right side, and it can also be located on the front, angled to the side, or even down the side of the tank.
This is important to note this as the the angle of the handle to the flush lever will vary depending where your handle is located on the tank.
When choosing a new lever, you have a few choices.
You can go with one from your specific toilet manufacturer, or you can choose one that is a universal fit that can work with a certain style or any style of toilet.
To illustrate these differences, below is a video from Korky StrongArm toilet repair showing you the different locations for the handle on the tank, and just how their universal flush lever can work with a variety of different toilet styles.
Here are some more universal toilet flush lever options:


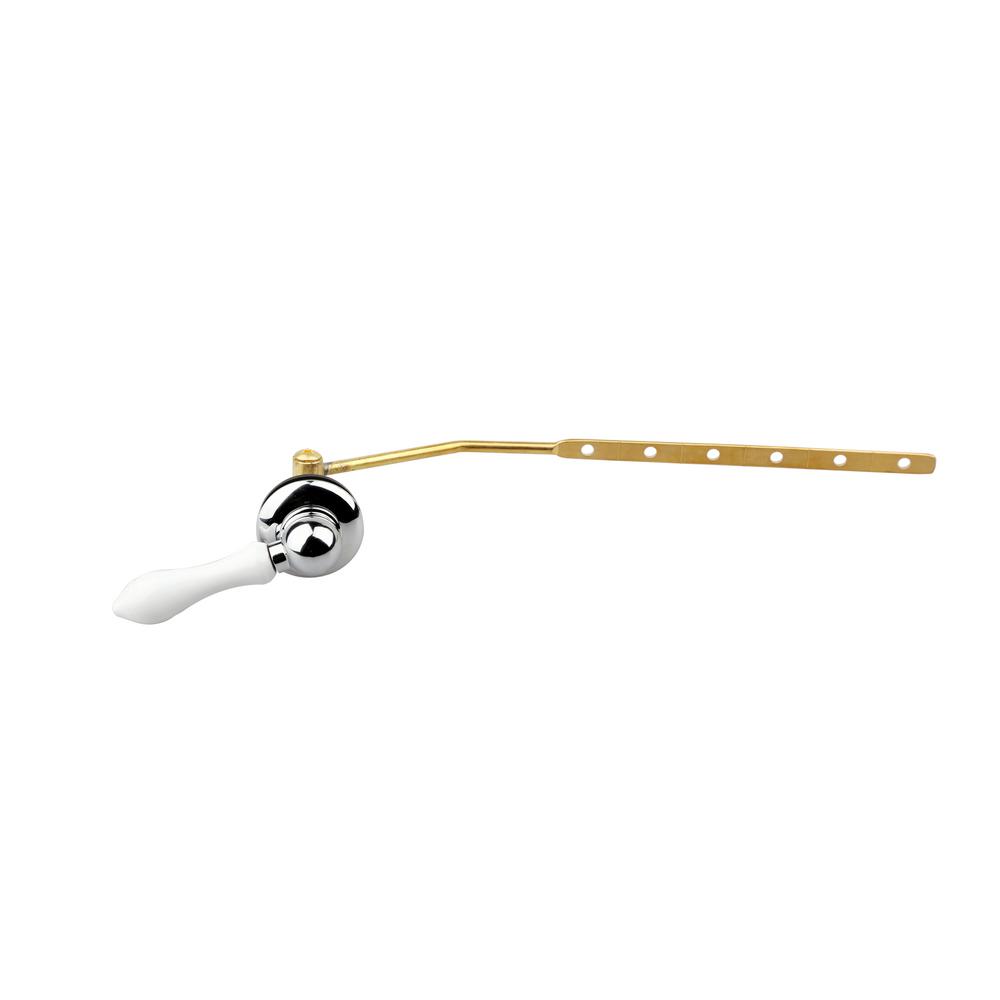
Depending on the brand and style, the flush lever may be made of plastic, metal, or a combination for the parts.
If one or the other is preferable to you, make sure to note that as you’re looking for your flush lever options.
I was also impressed with the wide array of options for decorative toilet flush handles were out there!
In case you’re looking for another way to add style to your bathroom, replacing your toilet flush lever could be a great opportunity.
Here are just a few of my favorite decorative toilet tank lever options:


Step 2 - Remove The Existing Toilet Flush Lever
To remove your toilet’s existing flush lever, you will need to turn the mounting bolt in the inside of the tank clockwise to loosen and remove the bolt. Then you can slide the handle out of the hole in the front of the tank.
Then detach the existing flush lever from the chain
Step 3 - Replace With A New Flush Lever
Thread the flush lever through the hole in the front of the tank and slide the bolt on and tighten by turning counterclockwise.
Connect the chain onto the end of the new flush lever
Test your new handle by flushing to make sure it is adjusted correctly
Conclusion
When you’re surprised with a toilet that can’t flush, it doesn’t have to be a big deal! With a little research you can choose a new handle and flush lever to add design and function to your bathroom. In just a few minutes you can have a fully functioning toilet again - quick and easy. Believe me, if I can replace this on my own, you can too!
Now I want to hear from you - Have you had your toilet flush lever break? What new style of handle did you choose when repairing your toilet? Let us know in the comments below!