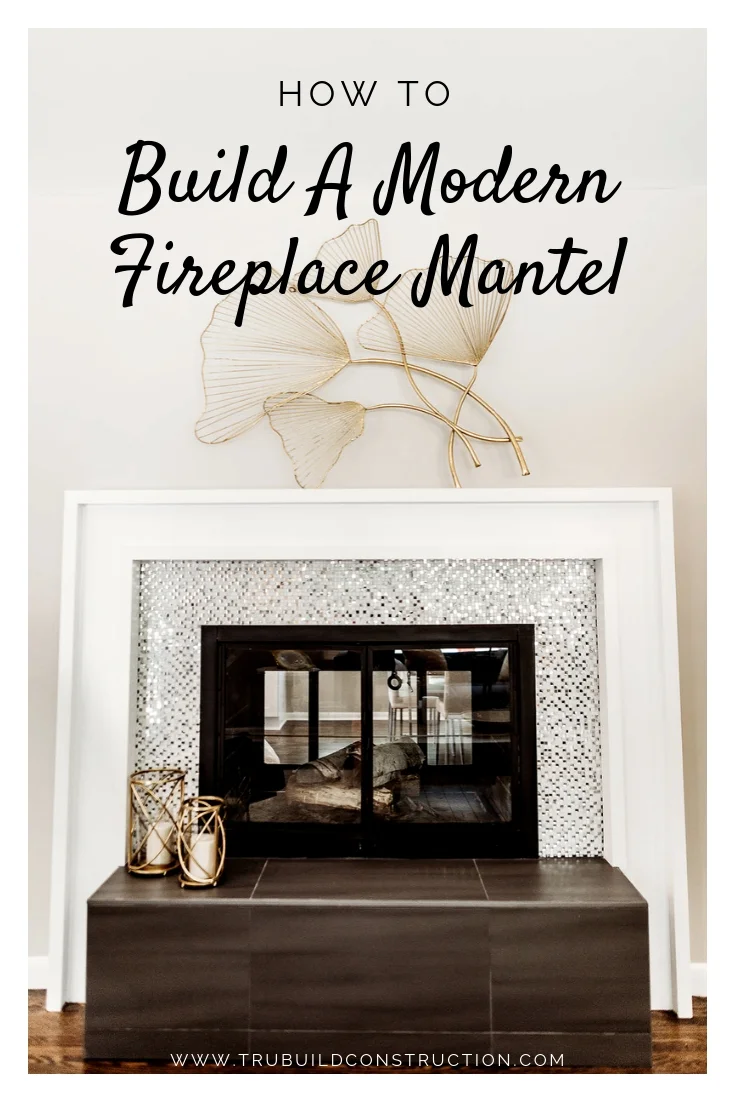
How To Build A Modern Fireplace Mantel
Welcome to our “how to” for building a modern fireplace mantel!
While working on the design for our recent Hilldale Avenue Home Remodel we chose to play up the modern look of the original home.
With that in mind, building a custom modern fireplace mantel came naturally.
Building a mantel not only offered the opportunity for a unique piece to fit the look of the space, it was also less expensive than buying a pre-made piece.
The design we created is simple with clean lines and only took Ryan about an hour an a half to create.
The five steps he took to create the mantel are laid out below and believe me, this is easy enough for even beginner DIYers!
Professional photography by Lauren Lutterman Photography https://www.photosbylaurenl.com
Affiliate Disclosure: You should assume the owner of this website has an affiliate relationship and/or another material connection, to any suppliers of goods and services that may be discussed here and may be compensated for showing advertisements or recommending products or services, or linking to the supplier's website.
Before you get started, make sure to take time to collect the necessary items to complete the job.
What We Used To Build A Modern Fireplace Mantel:
Materials -
2” x 6” boards
Premium Select Clear Pine in 1” x 8” for the face of the mantel
Premium Select Clear Pine 1”x 4” for outside and inside boards
Premium Select Clear Pine 1” x 2” for trim for the face of mantel
Tools-
18 gauge finish nailer and nails
Paint Sprayer and/or Paint Brushes
Plastic cover for paint splash
A few notes before you start:
You can see below, we had transformed the original brass metal doors by spraying them with a flat black paint, specifically designed for high heat surfaces. After two coats of the paint had dried, we installed the tile surround and hearth for the fireplace. The rest of the wall had new drywall that had been primed and was ready for paint.
Keep in mind, the sizes of all the boards listed above can be adjusted depending on the size that would look best for your space. The beauty of a custom mantel is creating it to be the best proportion and style for the application.
One thing you should know is that because all seams will be filled, sanded and painted, you do not necessarily need to miter the corners of any of the boards. This is great news because it can make this project a little more doable for just about any skill level.
Step 1 - Install Boards Around Fireplace
Use stud finder and pencil to locate and mark the location of studs around the fireplace surround
Install 2” x 6” pine boards around the entire fireplace surround and hearth by using construction adhesive, then screw the GRK fasteners into the studs to make keep them firmly in place
Step 2 - Use Wood Boards To Give The Mantel It’s Depth
Using construction adhesive and 18 gauge brad nails, install the 1” x 4” select pine boards on end around the outside and inside edges of the 2” x 6” boards to give the mantel it’s depth
If going over a tile surround on the inside edge (like we did), you will need to rip the 1” x 4” board down to match the depth achieved by the outside 1” x 4” piece
Step 3 - Install Wood On Top Of Boards
Rip the 1” x 8” boards to match the width of the face of your mantel
Apply construction adhesive on the front edges of the 1” x 4” boards
Install the 1” x 8” ripped boards to the 1” x 4” boards using 18 gauge brad nails
Step 4 - Add Trim To The Modern Mantel
Install one layer of the 1”x 2” select pine boards, laid flat to the inside edge of the mantel using 18 gauge brad nails
Install two layers of the 1” x 2” select pine boards with 18 gauge brad nails, they should be laid flat to the outside edge of the mantel and stacked on top of each other to create a thicker outside edge
Step 5 - Fill Holes, Sand And Paint Desired Color
Use wood filler to fill all seams and nail holes, allow to dry according to instructions on container
Sand using orbit sander on outside edges to ensure a smooth finish and remove any uneven surfaces. Use a sanding sponge on inside edges and tight spaces to make sure there are no visible gaps, seams, or rough patches
Once all sanding is complete and the mantel is smooth and without visible seams or holes, wipe down entire mantel with damp rag to remove any dust or debris
Use painters tape and painters plastic to cover all surfaces around the mantel that you don’t want to be painted. If using a paint sprayer, it makes the most sense to try to create a sort of “tent” using the plastic in order to minimize the spray getting everywhere
Apply enamel paint using a sprayer or brushes. Make sure to do light, even coats. It is better to do two light coats than one heavy coat. If you have drips or runs between coats, make sure to sand them smooth and wipe again with a damp rag before the next coat.
After paint is completely dry, you may notice there is still a gap between the wall and the mantel that needs to be filled. In order to do that, first apply painter’s tape around the outside edge of the mantel where it meets the wall. The tape should be applied 1/8th of an inch or less away from the mantel. Then apply a bead of caulk around that edge and smooth using your finger or a caulking tool. Remove the tape while caulk is still wet and if some gets on the wall try to wipe up as quickly as you can and touchup paint as needed.
Want to see more pictures of the finished mantel? Click here!
Conclusion
Creating custom pieces can be one of the best ways to make your house feel like home.
We hope you will take what we did and build off of it to create your own custom mantel!
I think this mantel could look great in a charcoal gray or black color as well, as it would add even more contrast to the marble and mirror tiled fireplace surround.
If you have questions about the process or want to share what you did to create your own fireplace mantel, drop us a line below! We love to hear from you!


