How To Cover Gaps In Tile Around Shower Heads And Trim Kits
Do you have gaps between the tile and your bathroom shower head or trim kit?
This can be common when you’re replacing a faucet and shower head but not redoing the tile.
Believe it or not, it can also come up as an issue when installing new tile as well!
Sometimes even the best installers can make an error in their tile cuts and leave too large of a space around a shower head, trim kit, or tub faucet.
When redoing the tile is not an option, you’re then faced with the problem of how to cover those spaces between the tile and shower head while not detracting from the overall look of the bathroom.
Having done many bathroom remodels over the years, we have run into this issue on more than one occasion.
Often the old cover was larger than the new one, sometimes a cover for the faucet or shower head trim is smaller than usual, and sometimes it was just a calculation error - no matter the reason, we have learned through trial and error how to practically solve this problem and keep the bathroom looking flawless.
Affiliate Disclosure: As an Amazon Associate I earn from qualifying purchases. You should assume the owner of this website has an affiliate relationship and/or another material connection, to any suppliers of goods and services that may be discussed here and may be compensated for showing advertisements or recommending products or services, or linking to the supplier's website.
Areas Where There Can Be Gaps In Tile Around Shower Faucets And Trim Kits:
To understand what might need to happen to cover the gaps in the tile, it is important to understand the parts of the faucets.
Here is a breakdown of the different parts that make up a shower faucet and trim kit:
As you can see in the image, the parts that are responsible for covering tile cuts are typically the following:
The flange, which is the cover over the shower arm, which holds the shower head.
The escutcheon, which is the wall cover for the handle trim kit.
The tub spout, as it attaches directly to the wall.
The trick with these is that the flange, escutcheon and tub spout can all be different sizes, depending on the brand and model, which is why you’ll sometimes have gaps.
Take the following shower head and trim kits as an example:
Delta Faucet Mylan Tub & Shower Trim Kit:
Flange Dimension: 2.5” Wide
Escutcheon Dimension: 8” Wide
Tub Spout Dimension: 2.75” Wide
Delta Faucet Ara Tub & Shower Trim Kit:
Flange Dimension: 2” Wide
Escutcheon Dimension: 6.5” Wide
Tub Spout Dimension: 2.75” Wide
Even when comparing shower and tub faucets within the same brand, Delta, there were still significant size differences between both the flange and the escutcheon.
To prevent this issue from the beginning when you’re planning a remodel, it is smart to provide the dimensions to your tile installer so they know how close they need to have the tile to avoid gaps.
If it’s too late for that, don’t worry! We have some simple solutions that could help cover those gaps in no time.
3 Ways To Cover Gaps Between Tile And Shower/Tub Faucet Trim Kits:
1. Fill In The Gaps Between The Tile And Trim -
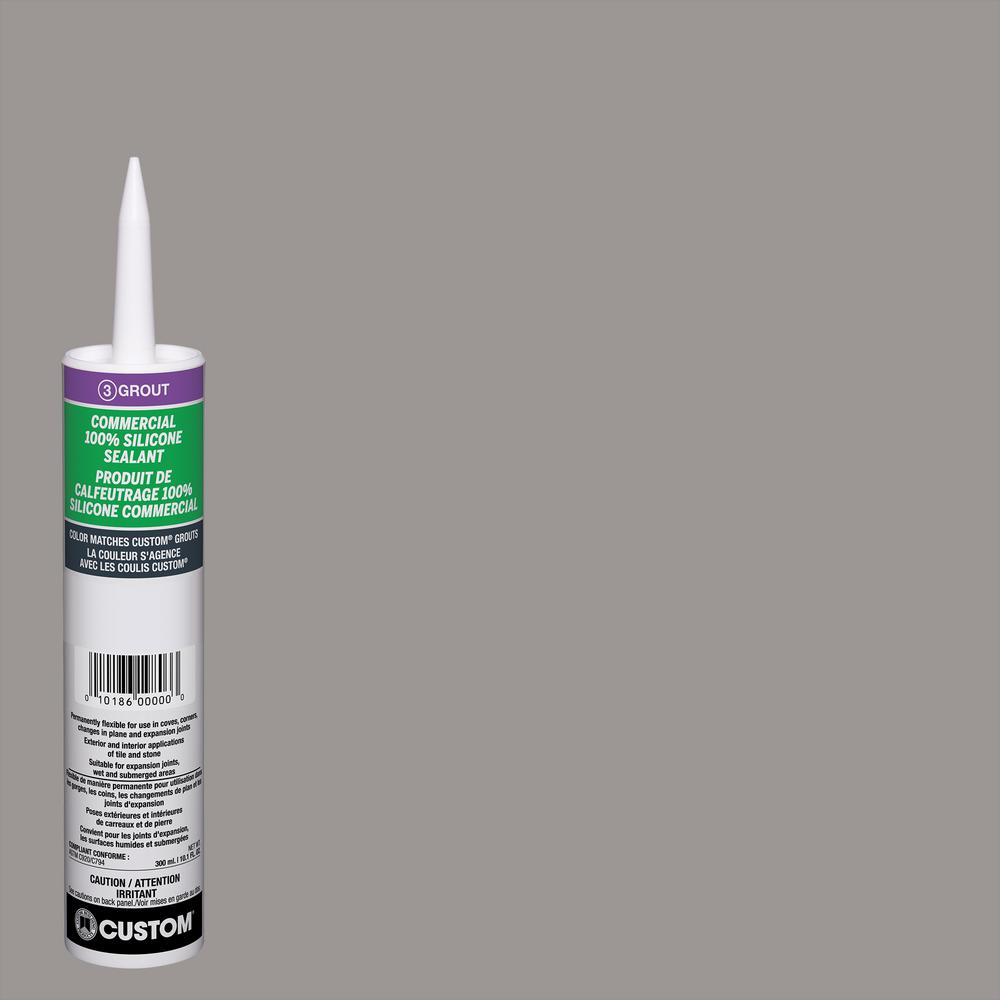
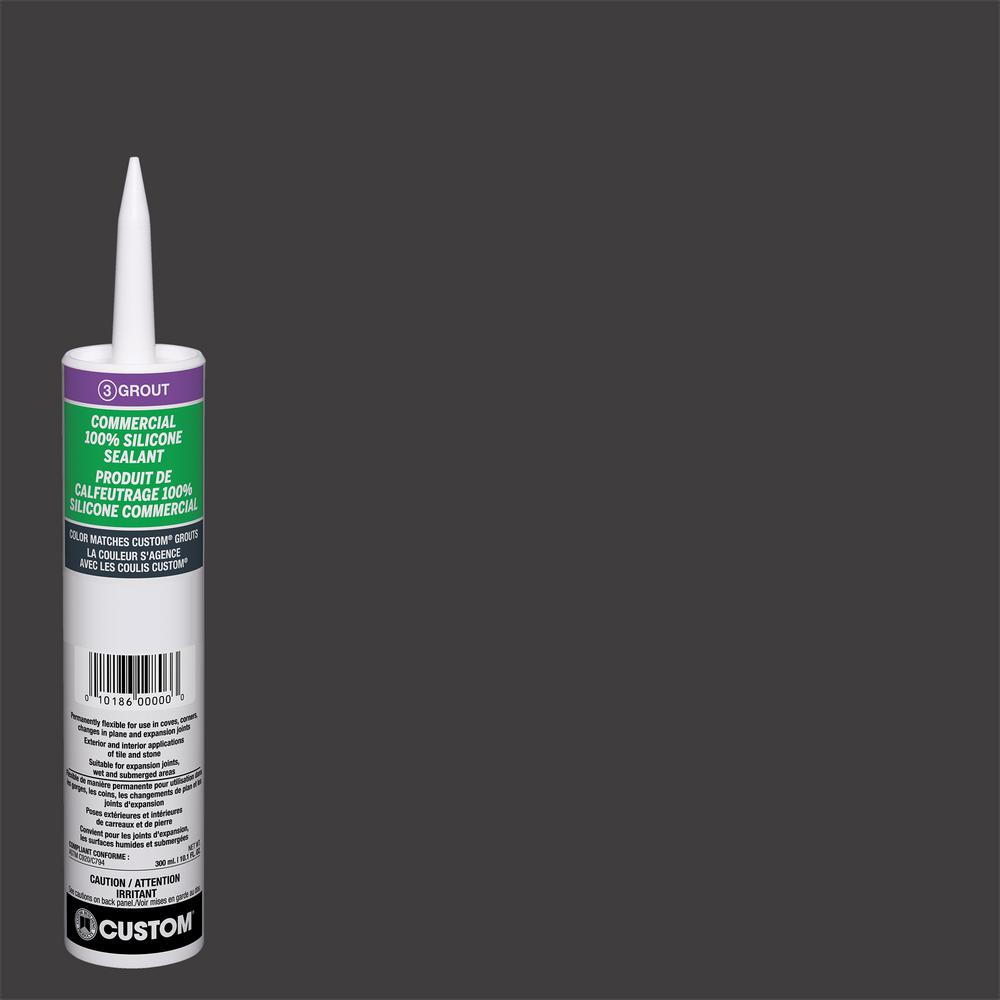
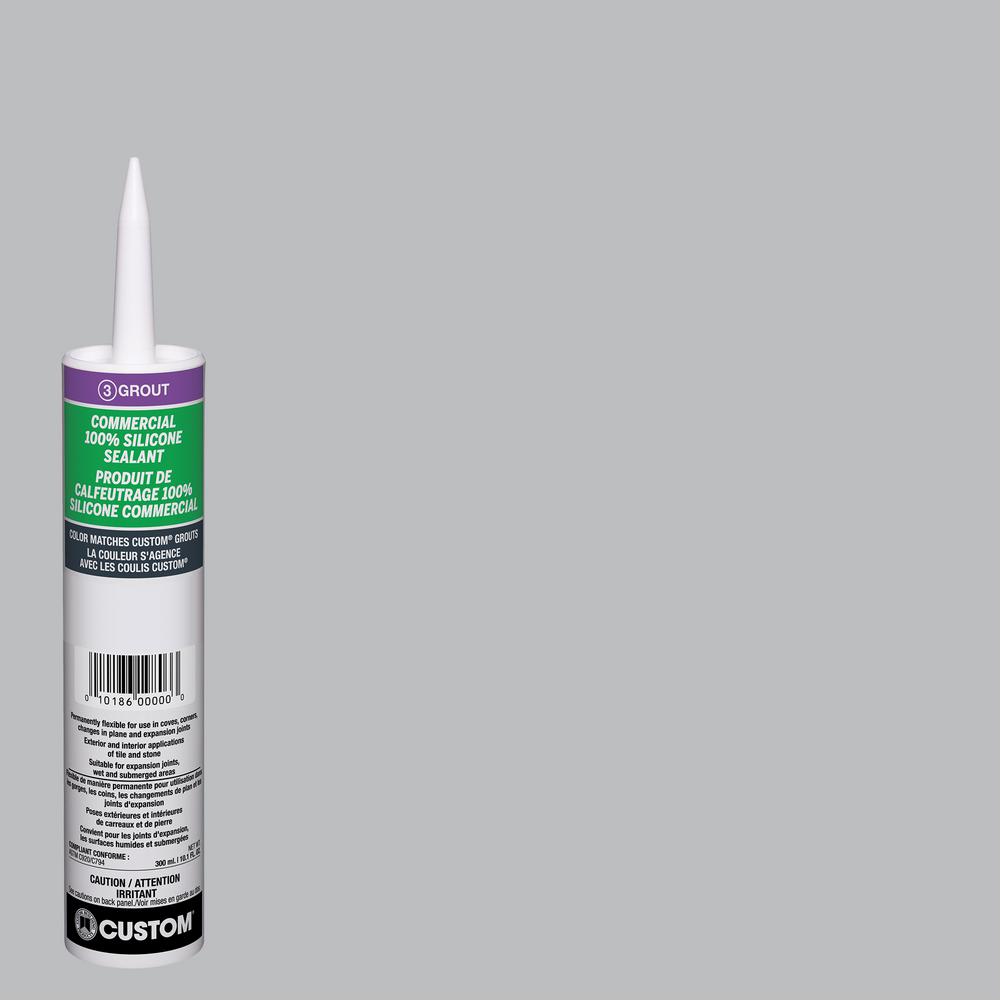
One possible solution to fill the space would be to use grout or caulk. We have found this to work best when the tile and grout are a similar color and the gap is a half inch or less.
Unfortunately, if you have contrasting colors, such as black grout and white tile, the grout becomes a lot more noticeable which can actually draw your attention to the gap and potentially make it look worse.
When using grout make sure to use the color that matches the rest of your shower. If using caulk, consider using a caulk that also matches the color of your grout if it is not white. Typically companies will sell grout and coordinating color caulk, so as long as you know the brand and color of your grout you can likely find a matching grout color.
If the tile and grout are both white, you could also consider using a white waterproof silicone caulk. A kitchen and bath sealant is going to be your best bet because it is specifically made for that application and will likely last longer and look better!
2. Cover The Gap Between The Tile and Trim By Purchasing A Larger Flange Or Escutcheon -
If your grout and tile are contrasting colors or you have an especially large gap, buying a larger flange or escutcheon may be your best option.
Different brands may offer larger sizes of the same style that you can buy to match your shower head or trim kit, otherwise you can look into buying another style that is larger and swapping out one for another. You will want to verify that they can fit interchangeably over the shower arm or below handle assembly before going that route though.
To help you on your search, here are some options available for each of the most common areas for tile gaps:
Larger Cover For Gaps Around Flange -
2.5 Inch Wide Flange
3 Inch Wide Flange
3.5 Inch Wide Flange
4 Inch Wide Flange
Larger Cover For Gaps Around Escutcheon With Handle Assembly -
Larger Cover For Gaps Around Tub Spout -
3. DIY Or Get A Cover Made For The Space Between The Tile And The Shower Faucet Trim -
If you can’t find exactly what you need, consider creating a custom cover to suit your needs.
This has been a route we have taken in the past when it came to floor mounted tub fillers, as there were no good options to cover gaps between the tile and the escutcheon.
In this case, we would take a plastic or metal disc the diameter that we need it to be, have it cut in the center to allow the faucet to come through, and then install it under the existing escutcheon or flange.
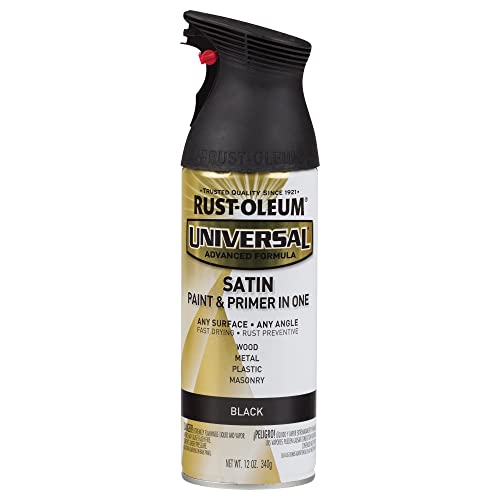
To get the cover to match your existing finish, consider spraying it with a matching finish metallic spray paint that can withstand water and cleanings. This can help give it a seamless look, even though there is an additional piece added!
Conclusion
Gaps between tile and a shower head or trim kit can be an unexpected issue that arises during many remodels. Using a little creativity, you can find quite a few solutions to help cover or hide that gap and make sure your beautiful new bathroom looks the way you planned. I hope that one of these ideas can help you achieve the final look you intended while also avoiding unnecessary tile work!
Now I want to hear from you - Are you dealing with a gap between your tile and your shower head or trim kit? What solution have you come up with to cover the space? Let me know in the comments below!


