
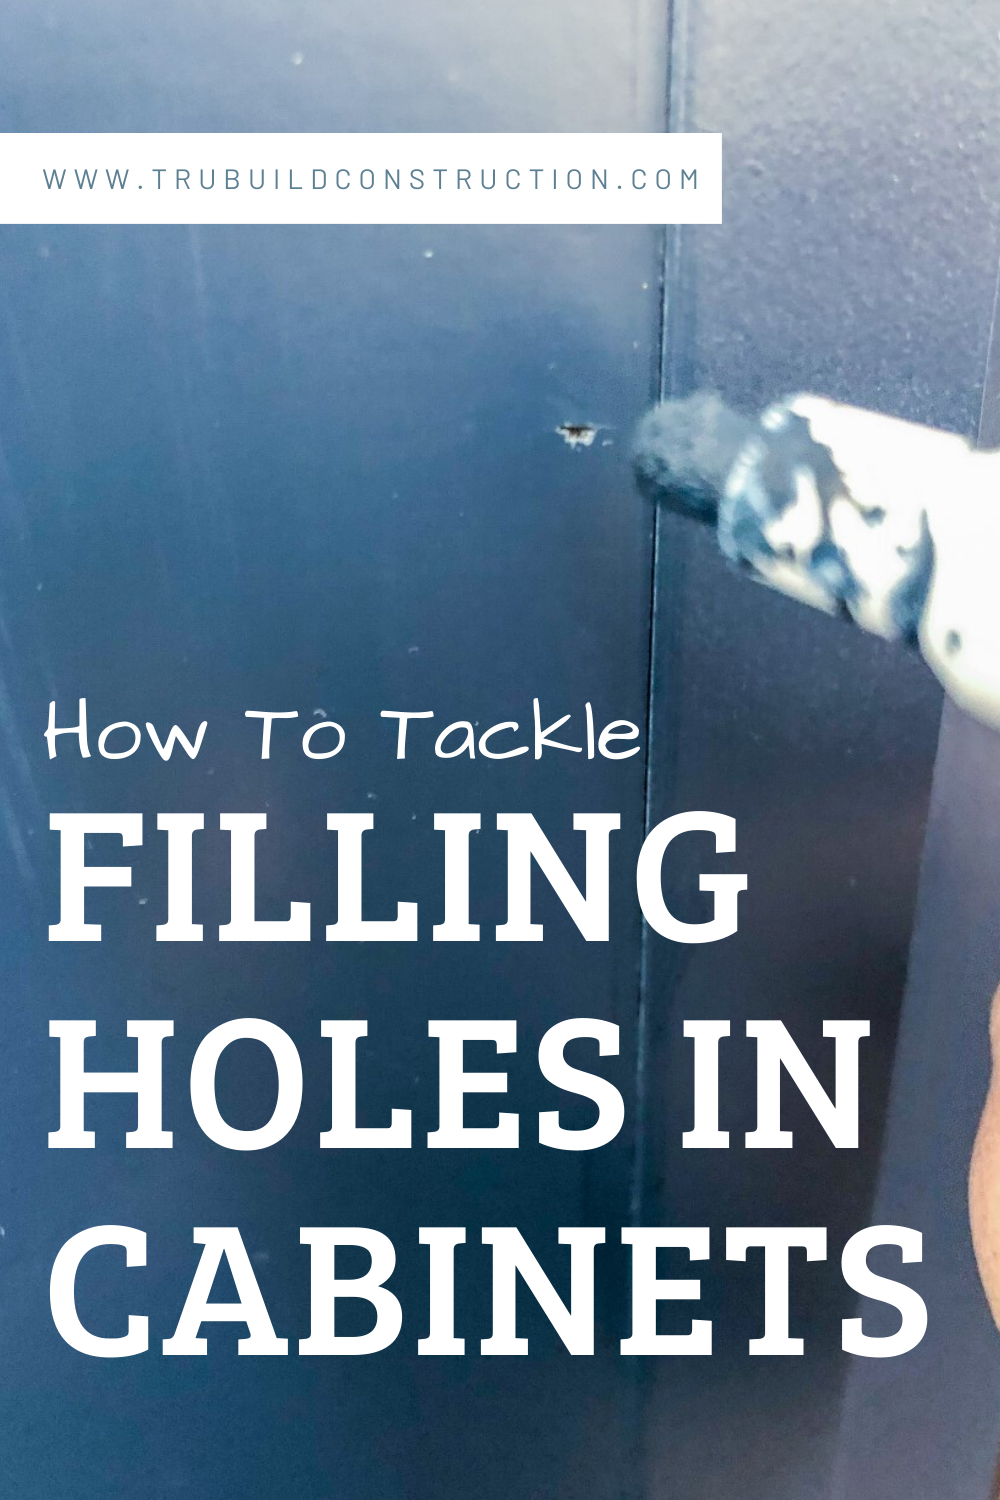
How To Tackle Filling Holes In Your Cabinets
I am here to tell you that filling holes in your kitchen cabinets can be a relatively simple task!
Maybe you are planning to replace your handles and need to fill the holes to hide from the old ones, or you had to repair the cabinet and there ended up being a hole where you didn’t want there to be one.
Whatever the case may be, there is an easy solution to improve the look of those screw or nail holes in your kitchen cabinet doors or panels.
Filling holes from nails or screws in cabinets is something we deal with all the time!
We most often deal with filling holes in kitchen or bathroom cabinet doors when a client wants to repaint their cabinets and replace them with new hardware.
Another time we often deal with holes from nails is after pre-finished cabinets are installed, as you want to hide any imperfections to make the cabinets look as seamless as possible.
Affiliate Disclosure: As an Amazon Associate I earn from qualifying purchases. You should assume the owner of this website has an affiliate relationship and/or another material connection, to any suppliers of goods and services that may be discussed here and may be compensated for showing advertisements or recommending products or services, or linking to the supplier's website.
Why Might You Need To Fill Holes In Your Cabinets?
After Installing New Cabinets -
When installing new cabinets, you or your installer will need to screw and nail various pieces of the cabinetry to keep it in place. After the installation, those holes should be filled to give the cabinets a polished look and hide any minor imperfections.
Replacing Cabinet Hardware -
Sometimes simply replacing cabinet knobs, pulls, or hinges can give a kitchen a facelift. When replacing cabinet hardware that is a different size or spacing measurement, the old holes from the original hardware will need to be filled to ensure a good outcome.
Accidental Damage -
Our kitchens are lived-in spaces that get a lot of traffic and use. That means that sometimes accidents can happen that damage our cabinet side panels or doors. Depending on the level of damage, sometimes the holes can be filled to return it to a better condition.
Easy Ways To Fill Holes In Stained Wood Cabinets:
What To Use To Fill Small Nail Holes In Your Stained Wood Cabinets -


If you’re needing to fill with small holes from nails in your cabinetry, then the solution is often one to two steps. You’ll want to get a wood putty for the nail holes, they often come in kits of multiple colors so you can find an appropriate color. If you can’t find the right match, you can full the hole in a neutral color wood putty and touch up the spots with a stain pen.
What To Use To Fill Larger Screw Holes In Your Stained Wood Cabinets -

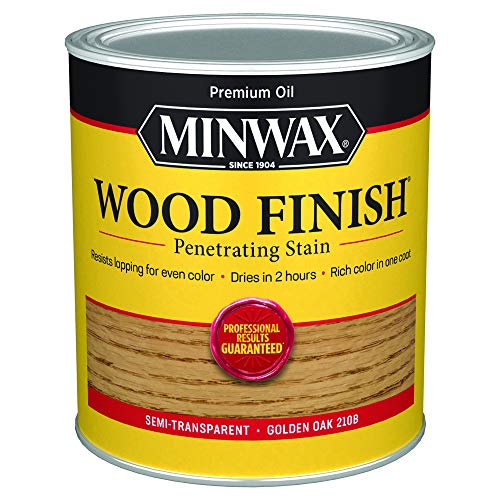

When needing to repair holes from screws or larger, it usually makes the most sense to use a stainable wood filler thats a light color. You would then have a second step of staining the filled spot to match the existing wood finish. Depending on size of the repaired area, it may also be necessary to use polyurethane topcoat that matches the existing finish.
Easy Ways To Fill Holes In Painted Or Prefinished Cabinets:
What To Use To Fill Small Nail Holes In Your Painted Or Pre-finished Cabinets -
Usually if you order pre-finished cabinets, you can often buy a touch-up kit from the manufacturer to match the paint color. If you’re not that lucky, don’t worry! There are easy solutions for you too.


Using a white paintable wood filler or a white painters caulk to fill nail holes in your cabinets will be the easiest next option. With white cabinets, you will sometimes be lucky enough that you may not even have to touch up the spots as it can blend seamlessly. Although, if you have another color cabinet, you can easily grab a small brush and touch up those spots with a matching paint color too.
What To Use To Fill Larger Screw Holes In Your Painted Or Pre-finished Cabinets -

The solution for filling screw holes in pre-finished or painted cabinets is very similar to the option for stained wood cabinets. You will want to find a quality paintable wood filler and paint it in a matching color to your cabinets.
3 Steps To Fill Holes In Your Cabinets:
Step 1. Fill Hole Or Holes With Wood Putty
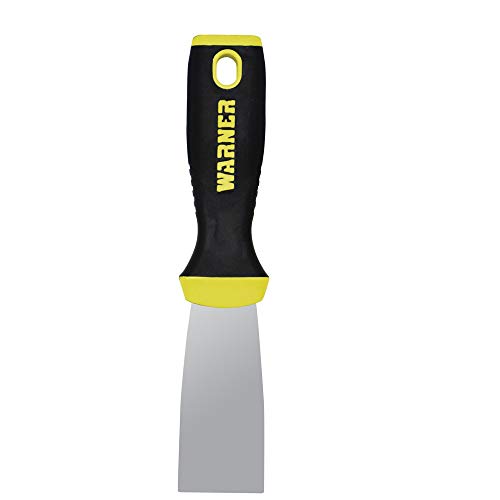
it is important to use enough putty to completely fill the hole without leaving extra on the cabinet or around the hole, if possible. If you’re filling small nail holes, you can often use your fingers or the putty pen to push it into the hole and wipe it smooth. If you’re filling larger holes you will want to use a small flexible putty knife to push the wood putty into the hole. After the hole is full, use the putty knife to scrape the excess off the surface of the cabinet and leave the putty flush with the panel or door.
If you’re filling small nail holes and the wood putty color is a match to the cabinet door, then this may be your one and only step! If you are filling a larger hole or the putty color does not match the cabinet door, there will be a few more steps.
Step 2. Sand Off Excess Putty From Cabinet
Make sure the wood putty is 100% dry before attempting this step. In case your best effort to scrape off excess putty before it dried didn’t work and there is still some amount of residue, or the putty is coming out of the hole slightly, then sanding will be your friend. To avoid having to paint or refinish the entire cabinet door, you will want to gently sand only the area with excess putty on it to make sure the surface is as smooth and flush with the rest of the surface as possible.

Use a fine sandpaper to ensure a smooth finish and choose a sanding sponge or paper that is easy to maneuver so you don’t end up sanding more surface off than you intend to!
Step 3. Touch Up The Filled Holes With Paint Or Stain

After sanding the spot where you filled the hole smooth, you can move on to touching it up. Using a matching stain pen or paint color, you can gently dab or brush the stain or paint color onto the putty until it is covered and blends with the rest of the cabinet color.
In a case where you are refinishing a large spot, it may also make sense to allow the paint or stain to dry, and then use a polyurethane coat to match the existing sheen on the cabinet to ensure the spot blends well with the rest of the cabinetry.


Conclusion
As you can see, filling holes in kitchen or bathroom cabinets can really be a breeze! Grab the right materials, and get ready to use patience to touch up the spots. In a short amount of time, those holes can just be past memories and you will have a few fresh look to your cabinets.
Now I want to hear from you - What kind of holes are you filling in your cabinets? What is the most challenging part for you? Tell me about it in the comments below!